(Fri 4/30)
Time to get to the real work.
The tool kit:

The rifler files on the top row are hand-made pieces from the Milani tool company in Italy. It is a pleasure to work with well-crafted tools. The second row tools are jewelers files, and the ones in the green case are diamond files, all made in China, but quality stuff nonetheless. Take a look at the bottom row, down at the far right. These are some interesting pieces. The four small tools with wood knobs are actually hand forged wood engravers. I bought them for a workshop class back in the '90's. They're used to cut fine line images in end grain hardwood for block printing. Engraving, and block printing weren't my thing, but the tools are great for fine detail work.
To the left of the engravers is an ancient surgeon's tool, a bone saw. The blade is incredibly hard. It's very handy for making fine cuts in tight places. I have no idea where the thing with the red handle came from. It's a hard three-sided blade, either a reaming tool of some sort, or a crude weapon. And finally, on the far right, there's an item that looks like a rusty, upside-down "T". Recognize it? It's a slice of railroad track that I found alongside the easement. It balances very nicely in the hand, and the rounded end makes a great mallet for chisel work. Notice, however, that there are only two chisels in the tool kit. Alabaster is soft, and often full of fine cracks. The cracks do not usually cause any problems, but it can happen that a small tap busts out a big chunk. So I use the chisels cautiously in combination with the drill, or the saw, for excavating large areas. I do most of the shaping with rasps and riflers. I use the angle grinder only to rough out the raw stone. Of course I have a heavy power drill also, but that's not in the picture.
Before I go any farther with this narrative I want to re-emphasize a point I made in the first, or second installation. I am an amateur at this.
In 1993, I took a four-day workshop class in relief carving. Other than that, I have no training in sculpture, and no "art education" at all. After the class I took in '93, I found a source for stone and tools, and just jumped in. Until the start of this project, I worked in a vacuum. I didn't have the internet and, except for the guy I bought my stone from, I had no idea what other sculptors did with stone, or how they did it. I just made stuff up as I went along. I had a ferocious burn to work in the late 1990's, and I produced somewhere around thirty pieces in about a five-year period. (pics to come soon) So, my methods of doing things are probably unconventional, possibly wrong, and, no doubt, would have a more experienced sculptor rolling his eyes, and shaking his head.
Point is, I am not pretending to be an expert, or even knowledgeable about art in general, or sculpture in specific. I am a feral creator. My
work is my work; my taste is my taste; and my opinions are no more than
my opinions. But neither am I "humble-boasting", doing the aww, shucks, it ain't nothin' bit. I think I make some cool stuff. I've displayed in salons, and invitational shows, taken home a ribbon or two, and had galleries request my stuff. A couple of people even bought some. Like Popeye says, "Iyam what Iyam." ya' know?
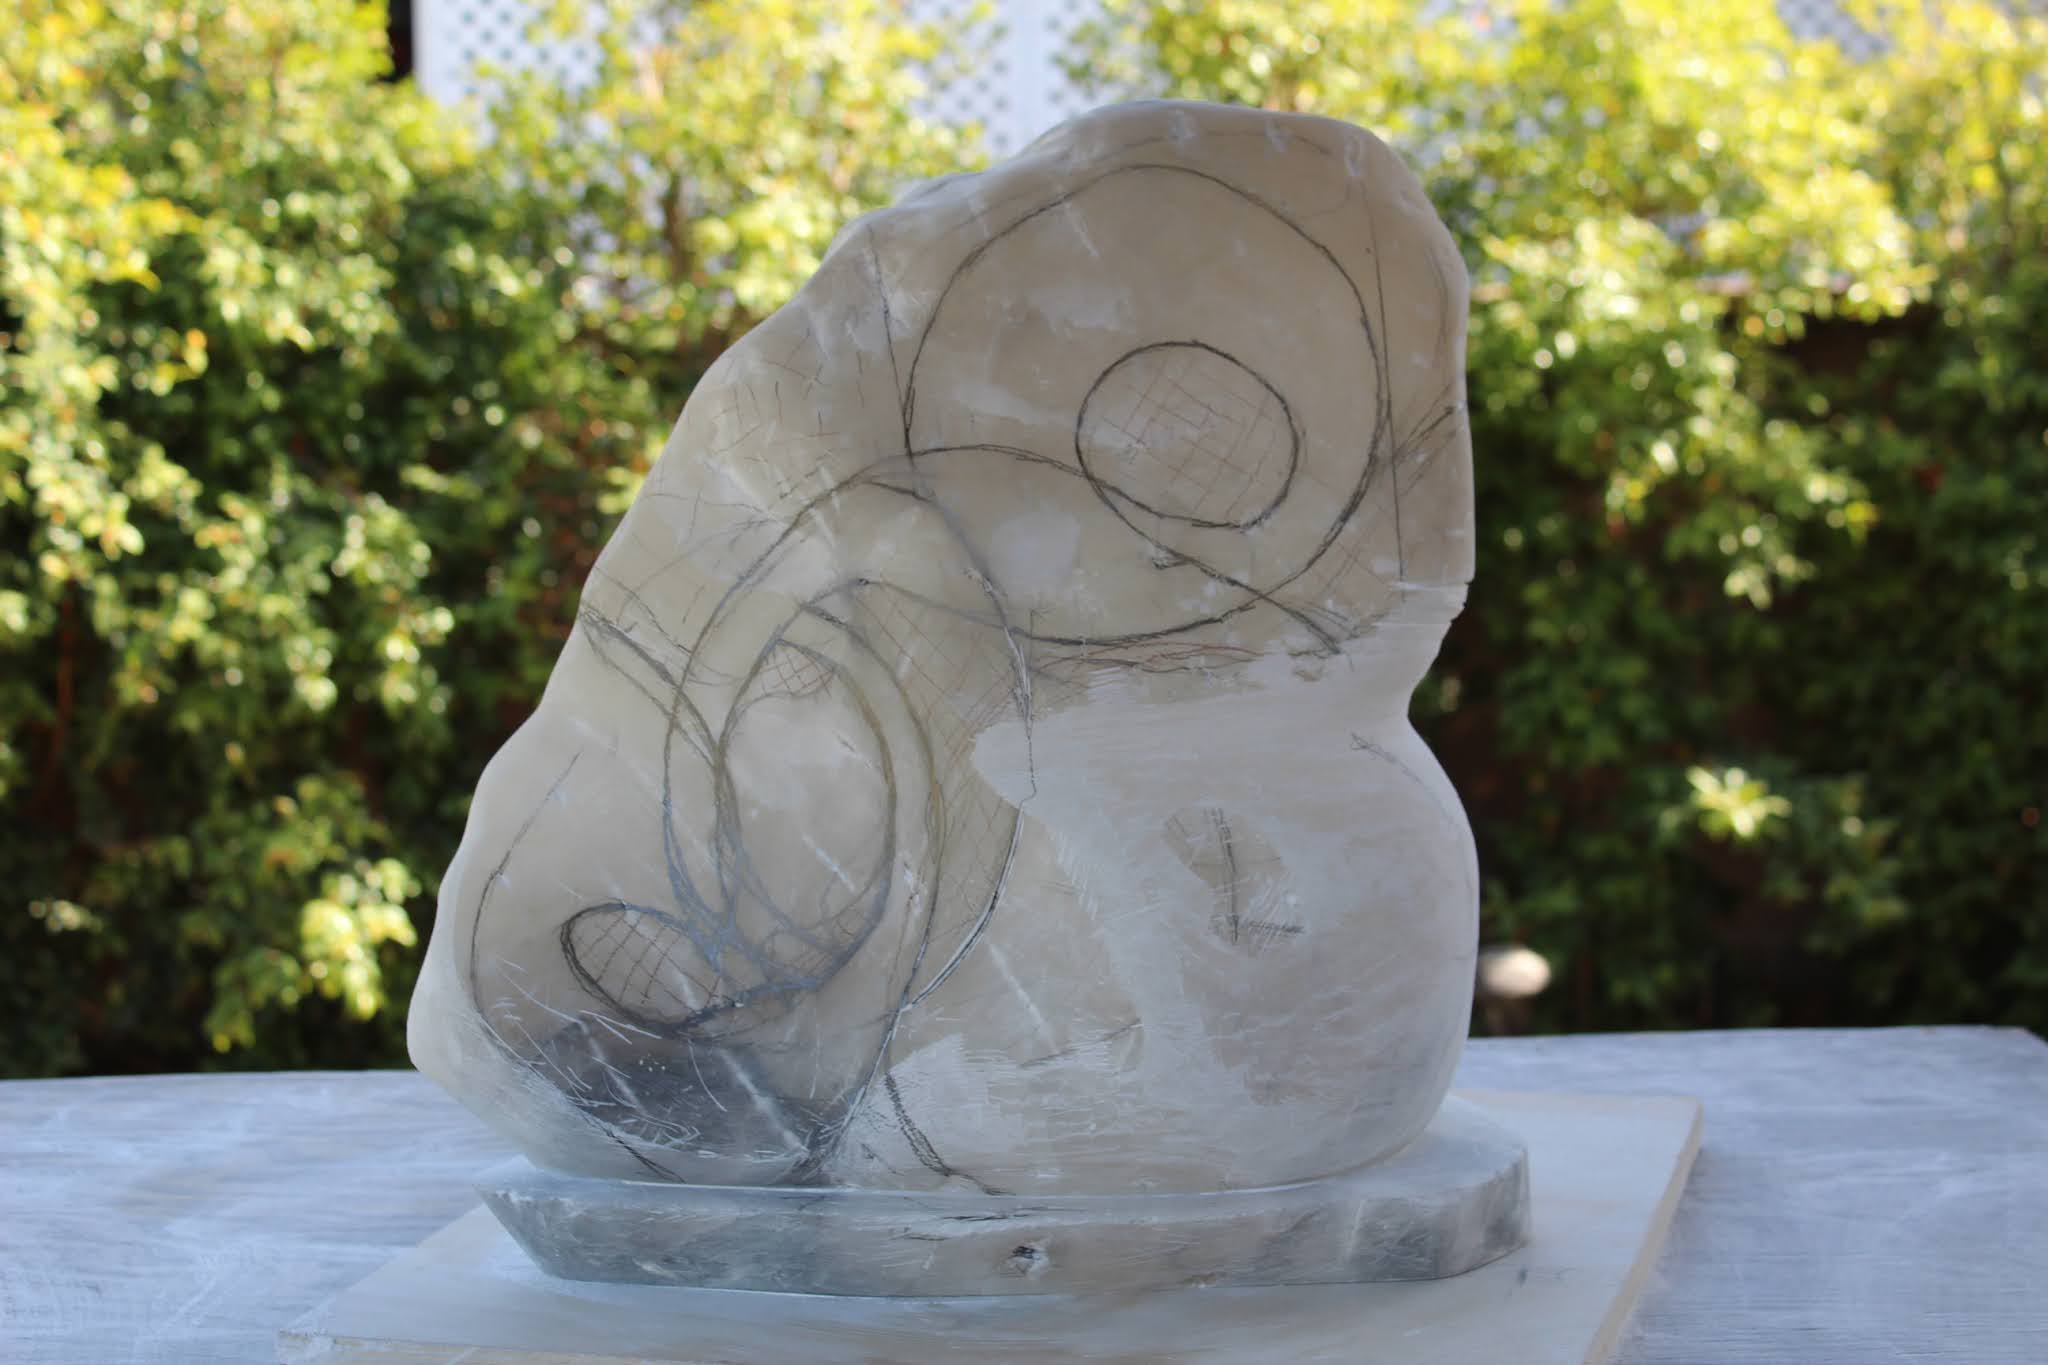
Anyway, this is it. It took seventeen days of hard work to get here, but today I started undercutting the basic form of the carving, lifting it away from the base. The actual sculpting is finally underway. Hooray.


(Wed. 5/5/21)
I let the stone sit over the weekend. I've been putting in long days, burning with the enthusiasm of beginning a new project. But I've also been burning too hard, and I needed to get away, and take a breather. I took some time to get out and ride the bike. The Cyclone Coaster antique and classic ride meets the first Sunday of the month. Almost everyone from my bicycle club was there. It was good to socialize a little; nice to get out and cruise an old Schwinn. Our gig, The So Cal RatRod Ride, follows Cyclone Coaster on the second Saturday of each month. That will be coming up this weekend, on the 8th.
As soon as I achieved consciousness on Monday morning I was back to work. It almost feels like having a job (in a good way). I spent Monday and Tuesday roughing out what's going to be sort of a big globe at the front end of the carving. By Tuesday afternoon it looked like this:


Notice on the side view pictures, the low spots in the globe. To get rid of them you have to shrink the whole globe down until the lowest spot in the lowest depression is even with the rest of the surface. It's not a worry, in this case. These will work themselves out as I shape the lower part of the figure.
(Thu, 5/6)
It won't do to shape the bottom of the figure, and leave the rest of the rock to catch up at some later date. I want to get the overall shape, and the flat planes established as well, so everything takes shape together. That means drilling holes, and making cuts with the saw.
The drilling can be tricky as hell. I have a big, heavy, 500 rpm power drill, and a twelve inch long, 1/4" masonry bit to do the job. The hard part is aiming the bit through a very irregular stone, and having it come out in the right place. Get it wrong, and you chow away a whole bunch of rock that was supposed to be part of the figure. It took most of the morning to set up the drill. I had to power through about eight inches of material right in the middle of the rock. I set up a makeshift guide, measured, checked, and double checked, took a deep breath, and pulled the trigger.
Is the suspense just killin' you now?
It came out OK. I give the job a B-. I missed the target on the exit by a little. The drill bit was supposed to exit in the middle of the curved triangle. Instead, it came out just to the left of the line.
(entry- middle of the curved triangle)


Fortunately, the material I drilled through will be excavated anyway, so no harm done. I worked the hole into a tunnel, and finally into a slot.
The next task is to establish the planes that will arch diagonally across the figure. A line becomes a scratch, becomes a cut. And so on.
By Friday, May 7, I got this far.


Tune in for more stony adventures!
JWM
Thanks for the update. Extremely interesting.
ReplyDeleteReally interesting to see the process. On the detail shot of the hole, the marks in the stone remind me of sparks from a fire. Very cool.
ReplyDelete